With Brady Workstation (BWS) , you have the flexibility to print labels instantly or save them directly to the printer's internal memory. This allows operators to access and print jobs from the printer’s display at any time, even without a computer nearby.
Compatible BWS Applications: Custom Designer and Text Labels files can be stored on the printer; GHS files must be converted to Custom Designer in order to be saved on the printer.
The i4311 has 8GB of memory. This is roughly 100,000 6" labels or 85,000 templates or 28,000 40" pipemarker labels. Review i4311 - How to Prevent File Loss During Service Maintenance / Repair.
Article Shortcut Links
Storing Files on The Printer With a USB Cord
- Connect the i4311 to the computer using the USB-B cable that is included with the printer.
- Turn on the i4311.
- Make sure the Storage Location setting on the printer is set as desired. i4311 - How to Change The File Storage Location
If set to external storage, make sure there is a USB drive in one of the USB-A ports of the printer.
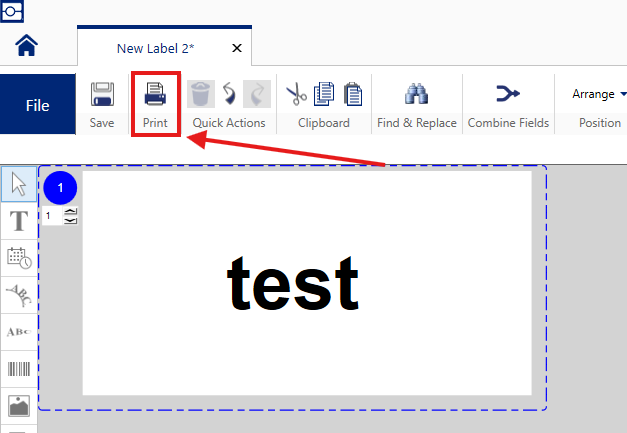
- In Brady Workstation, open a label file in either the Custom Designer or Text Labels applications, and go to the print preview screen by pressing print on the top left.
- Select the drop-down arrow next to the Print button on the bottom right of the screen and click Store.
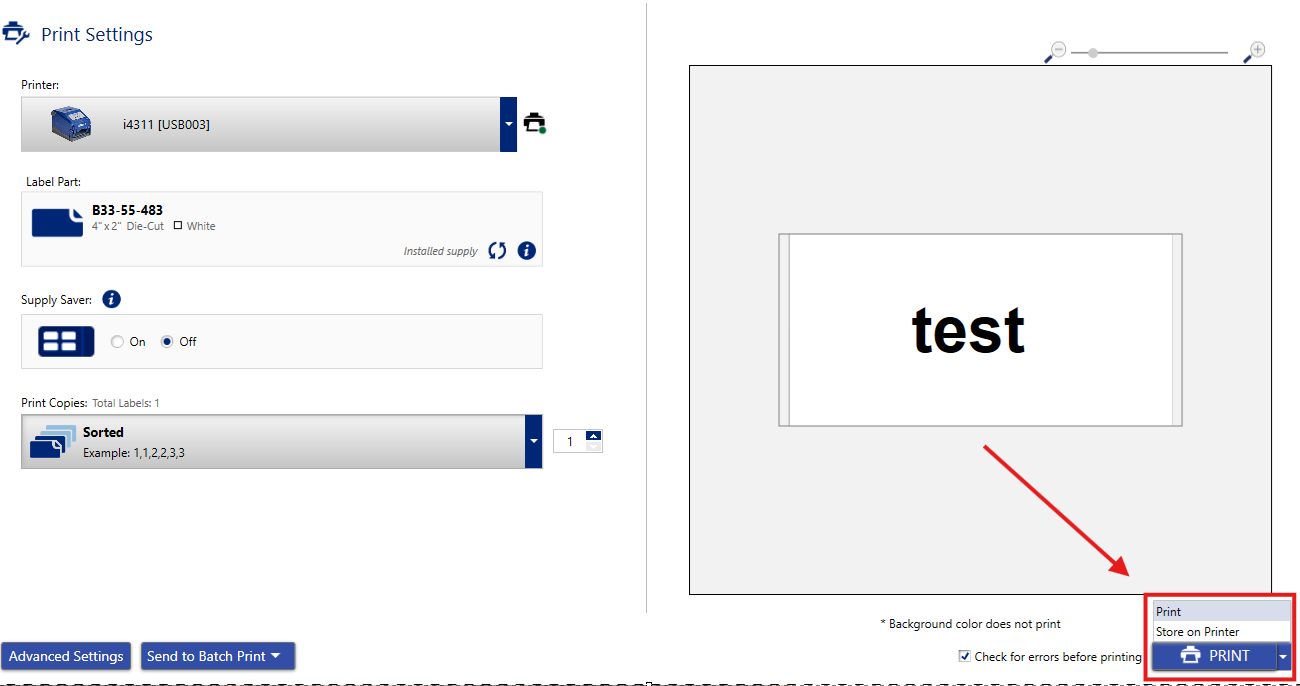
The blue button should now say Store instead of Print.

- Left-click on the blue Store button
- Name the file and click Store.
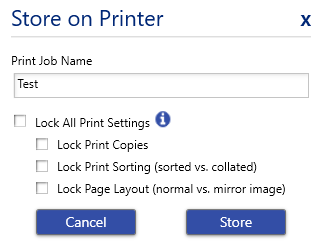
- When finished, the file is saved in the specified location on the printer, either internally or on a USB drive. For instructions on printing the files saved on the printer:
Storing Files on The Printer With a USB Drive
Important: The USB device should be smaller than 4 GBs in storage, and formatted as FAT32 or the printer might not detect the USB.
Store the Print Job on a USB Drive
- Insert a USB drive into the USB port on your computer.
- In the Brady Workstation software, open an existing label file or create a new label file. Brady Workstation - How to Create a Basic Label File in Custom Designer
- Configure the print settings as desired. This includes the number of printed copies, sorting, and advanced settings such as cutting preferences. All of these settings are saved with the print job when it is stored on the USB drive.
- Once you are ready to save your label, click File on the top left then click Save As on the top left.
- Find your USB drive on your computer, and save the print job to the root of the drive. The file should not be in any folders.
- Eject the USB drive from the computer.
Import a print job from a USB Drive
- Insert the USB drive into one of the two USB-A ports on the back of the printer.
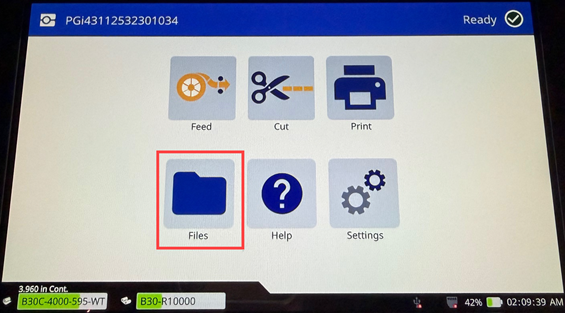
- On the main menu of the printer display, select the Files menu option.
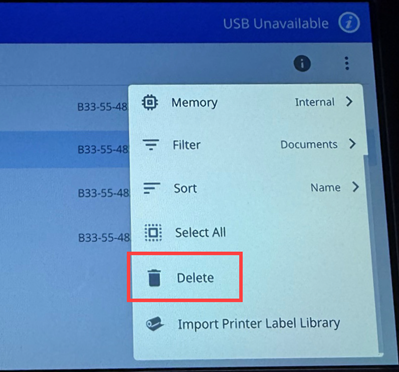
- Select External Storage from the drop-down menu that appears as three dots. A list of all compatible files found on the USB will display.
- Tap on each file you want to import onto the internal memory of the printer.
- Tap the Download icon in the upper right hand side of the screen.
- Tap OK on the message.
Deleting Files on the Printer
- From the home scree, tap Files.

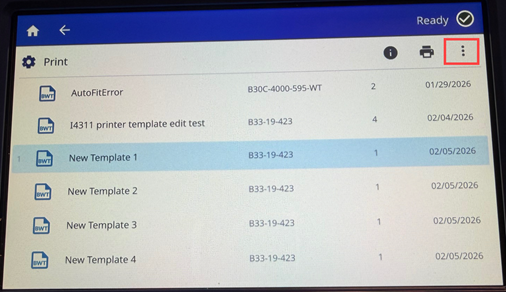
- Tap the desired files to be deleted.
The selected file(s) will be highlighted.
- Tap the three dots menu icon on the top right of the screen.

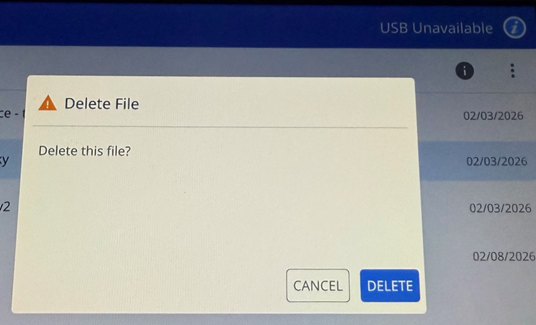
- Scroll down the menu and tap Delete.
- Tap Delete to confirm the deletion of the file.