The web configuration tool can be used to set up the Brady Script Emulator for ZPL. The IP address is required. A smartphone is the easier method to obtain the ZPL emulator's IP address.
Using a Phone
- Plug in all the cords.
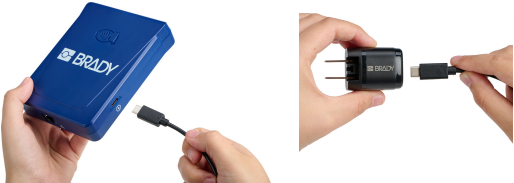
- Insert one end of the USB-C power cable into the power port on the device, and the other end into the appropriate AC adapter for your region, and then plug in to a power outlet.

-
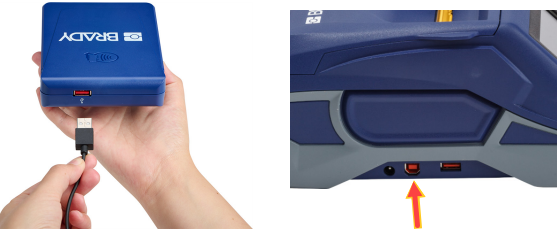
- Plug the USB-A end of the data cable in to the Brady Script Emulator for ZPL and the other end in to the printer's data port (USB-B or USB-C depending on the printer).

-
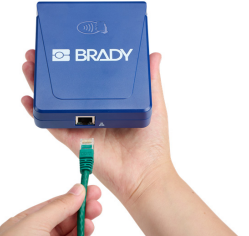
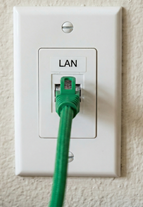
- Plug one end of the Ethernet cable in to the Brady Script Emulator for ZPL and the other end into an Ethernet port for your network. The network must also offer a Wi-Fi connection so that your phone or tablet will be able to connect to the same network.
- Wait 1 minute and 30 seconds.
Important: Make sure the phone and Brady Script Emulator for ZPL are on the same network. If they are not on the same network, the Brady Script Emulator for ZPL will not connect.
- Unlock the phone and tap the phone to the tap-to-connect symbol on the emulator. This obtains the emulator's IP address so the browser can connect to the embedded web server running on the emulator.
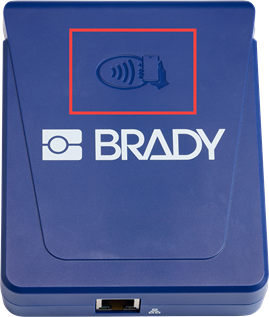
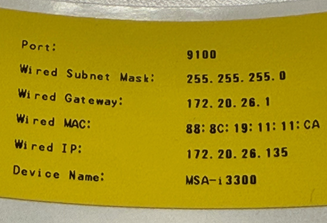
- Make a note of the IP address shown in the notification on your phone.
If all zeros display for the IP address, the network is not connected. Remove the cords and plug them in again to re-establish the connection.
- Open the emulator's embedded web server.
-
- Tap the notification on your phone to open the embedded web server. You will need to scroll to see all the controls.
- This will not work on a tablet.
- If the notification disappears, enter the IP address in the browser of the phone.

- The embedded web server can be opened on a computer to view on a larger screen.
- The embedded web server will state Ready when everything is connected. . Configure the settings as needed.
Print a label to verify the connection, if applicable: Brady Script Emulator for ZPL - Validate the Printer Connection.

Using a Computer
- Plug in all the cords.
- Insert one end of the USB-C power cable into the power port on the device, and the other end into the appropriate AC adapter for your region, and then plug in to a power outlet.
-
- Plug one end of the Ethernet cable in to the Brady Script Emulator for ZPL and the other end into an Ethernet port for your network. The network must also offer a Wi-Fi connection so that your phone or tablet will be able to connect to the same network.


- Insert a USB drive into the USB-A port on the Brady Script Emulator for ZPL.
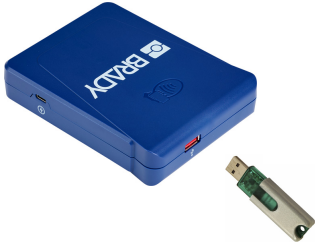
- Wait 12 seconds. The emulator writes a text file to the USB drive.
- Remove the USB drive from the emulator.
- Plug the USB-A end of the data cable in to the Brady Script Emulator for ZPL and the other end in to the printer's data port (USB-B or USB-C depending on the printer).
- and insert it into a USB-A port on the computer.
Important: The computer must be on the same network as the emulator.
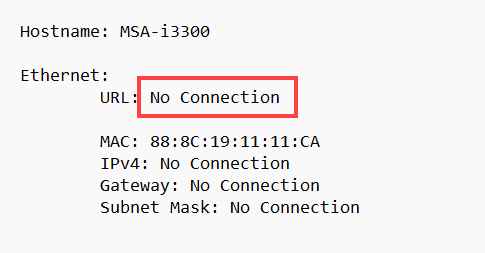
- Navigate to the USB drive and open the BradyScriptEmulatorForZPL_Settings.txt file. The text file contains a web address (URL) that consists of the IP address of the Brady Script Emulator for ZPL.
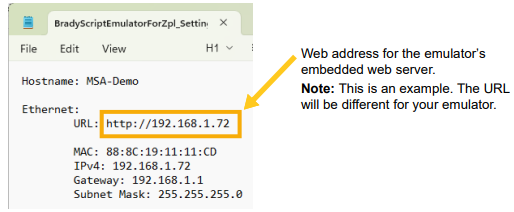
If No Connection displays for the URL, the network was not established. Repeat the steps again.
- Copy the web address in the .txt file and paste it into the address field in a browser. The emulator's embedded web server opens.
- Configure settings in the embedded web server. Most are optional, but you may especially want to set ZPL Settings. Click the Settings tab and configure settings as needed.
Print a label to verify the connection, if applicable: Brady Script Emulator for ZPL - Validate the Printer Connection.