This article walks through adding a second template to an existing Data Pipeline configuration. It is a good idea to get data pipeline working with one label template file before adding a second file. To create a Data Pipeline workflow from scratch, see this article: Data Pipeline - Brady Workstation & Printer Setup
Creating a Pipeline Utilizing Multiple Label Templates
Data Pipeline is capable of storing multiple label templates on one configuration file or one pipeline. This is useful if you want to print out multiple label designs using the same sets of data. In order for Data Pipeline to know what template to use when printing, an extra column must be added to your data file dedicated to assigning the template file that will be used to print that particular line of data. The example below utilizes two Brady Workstation label templates and one text file containing sample data.
Note: Pipelines utilizing continuous rolls of labels will need to have the length of all templates match exactly. If the templates differ in length, the page sizing of all templates will be overwritten with the length of the smallest label. (i.e. templates that are 4" in length will have their length reduced to templates within the pipeline that are shorter than 4").
This article walks through adjusting the length of a continuous label: Custom Designer - Define Label Length when Using Continuous Labels in Brady Workstation
Data File Setup
Column 1: Serial Number
Column 2: Part Number
Column 3: Weight
Column 4: Manufacture Date
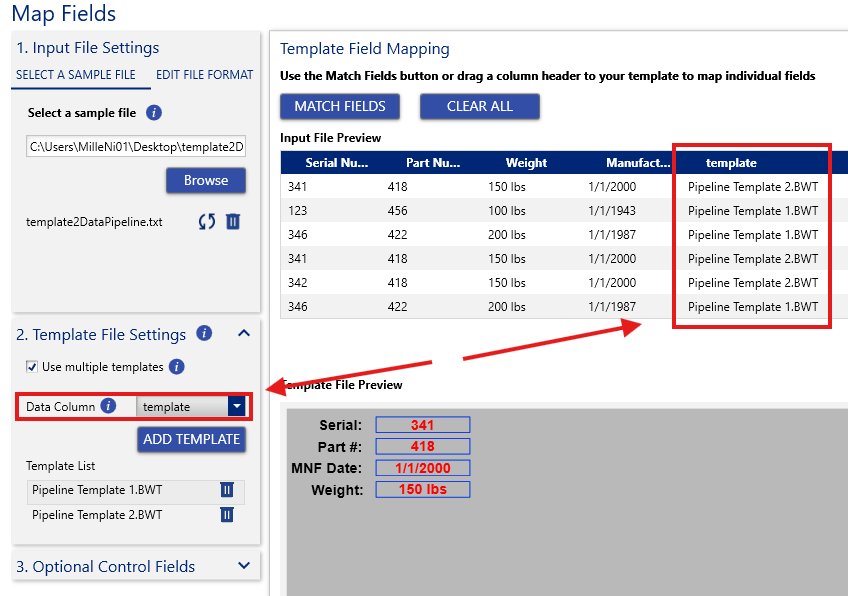
Column 5: template file - This column is what the example pipeline will use to determine which label template to send the data to. The name of the file must contain the ".BWT" file extension at the end of the text string, or the pipeline will be unable to find the right template.

Brady Workstation Label Template Setup
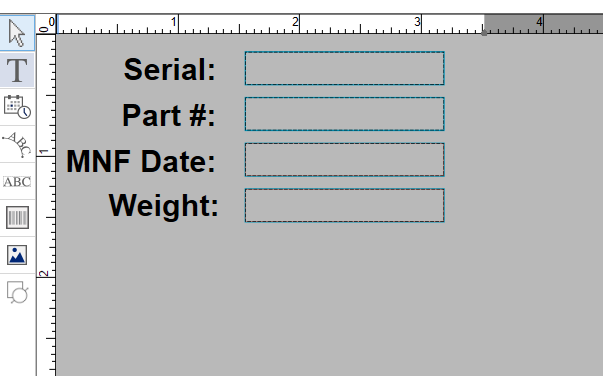
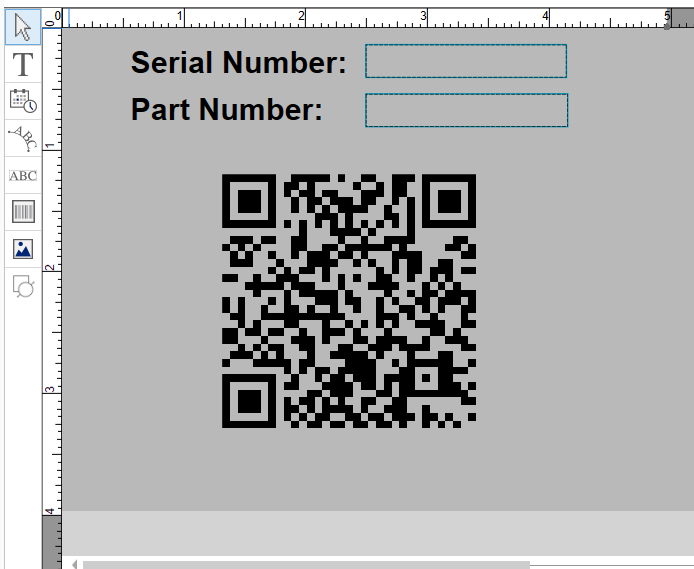
The first template in the example below uses four text boxes; one for the serial number, part number, manufacture date, and weight. The second template uses two text boxes; one for a serial number and one for a part number, then a QR code that displays the serial number and part number using a combined field. Reference this article to learn more about combined fields in Brady Workstation: Custom Designer / Print Partner - Create a Combined Object
Template 1:
Template 2:
Data Pipeline Setup
-
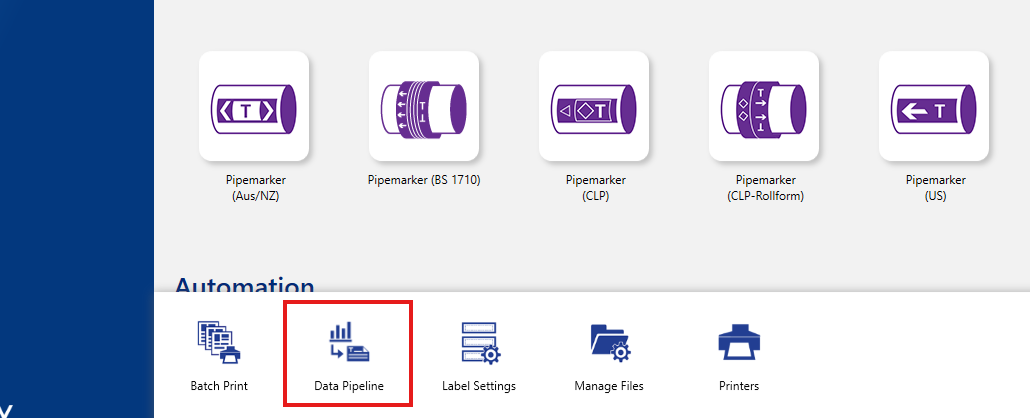
To add a second template to an existing configuration, first open the Data Pipeline application in Brady Workstation.
-
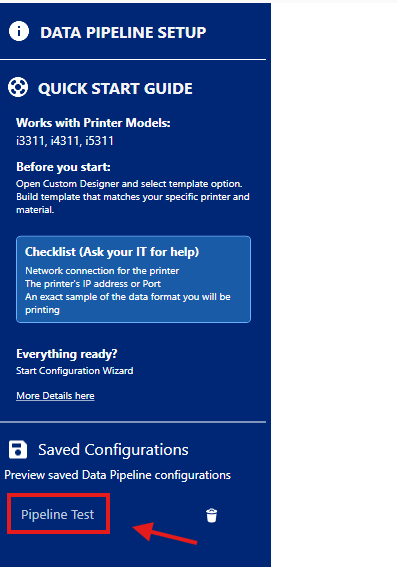
If you have an existing configuration file already, select your configuration on the bottom left hand side of the menu.
-
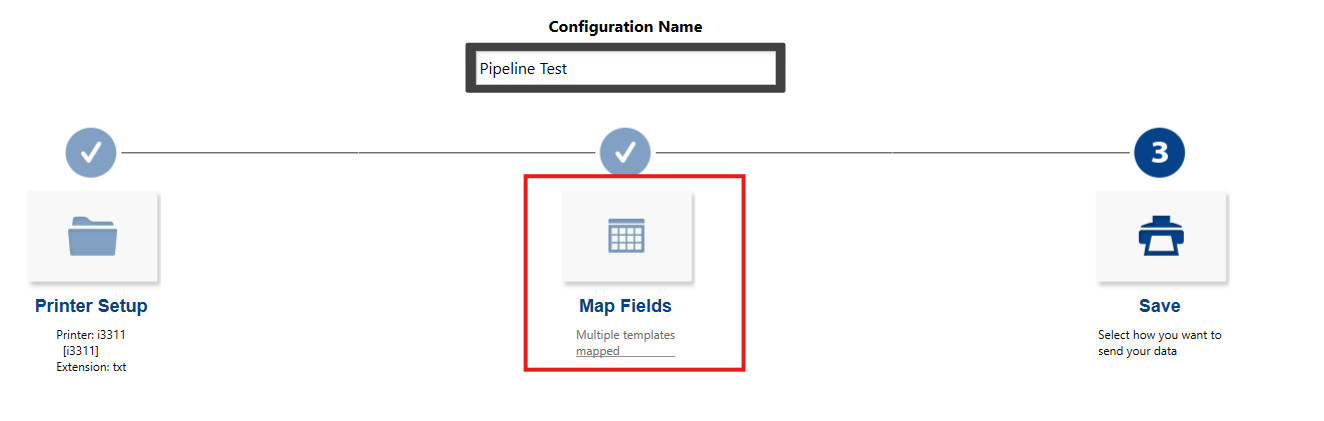
Select Map Fields.
-
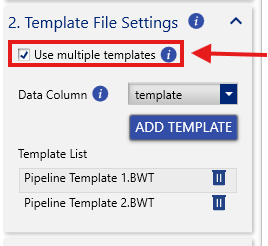
Check the Use multiple templates check box on the left hand side of the menu.
-
Select the Add Template button, and find your template files stored on your computer. Only one template can be added at a time.
Note: The default directory for saved template files for Brady Workstation is C:\Users\Public\Documents\Brady Corp\Brady Workstation.
-
Once all the templates are added, select the Data Column drop down menu, and choose the column in your data file that contains your template file names.
-
Select the Add Template button, and navigate your computer to find the Brady Workstation label template files. Only one template can be added at a time.
Note: The default directory for saved template files for Brady Workstation is C:\Users\Public\Documents\Brady Corp\Brady Workstation.
-
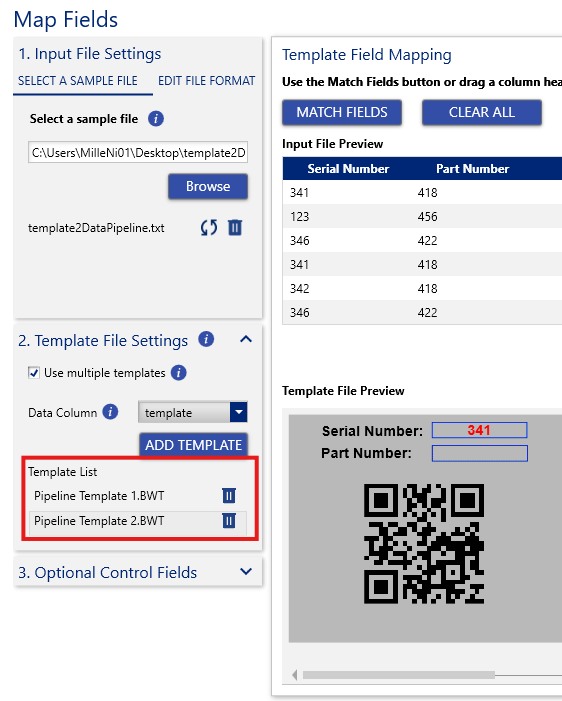
Match the fields in all the label templates listed under the Template List section.
-
Once all fields are mapped, save the configuration and send it the printer.
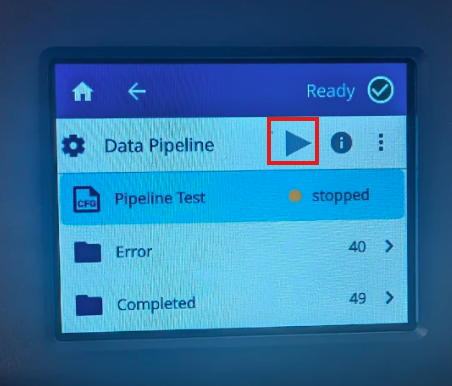
- Open Data Pipeline on the printer.
-
Run the pipeline on the printer by tapping the play button.
-
The pipeline on the printer is now ready and awaiting a data file.
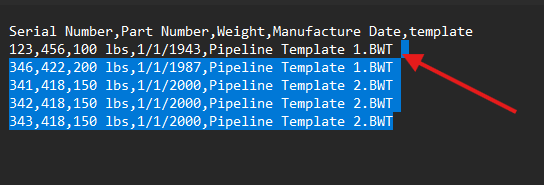
Note: If nothing prints after a data file is sent to the printer, make sure there are no spaces in your data file, and the names of the Brady Workstation template file match exactly character for character. The example below shows an extra space at the end of the first row after "Pipeline Template 1.BWT". This file will not print.
If you have any questions about setting up the Data Pipeline Workflow, please reach out to Brady Technical Support: Global Brady Technical Support Contact Information