Printing Two-sided Sleeve Material
This article uses part number B33D-250-2-342 as an example. Verify your roll of labels is compatible with double sided printing on https://www.bradyid.com/ before continuing.
- Install your labels into the printer.
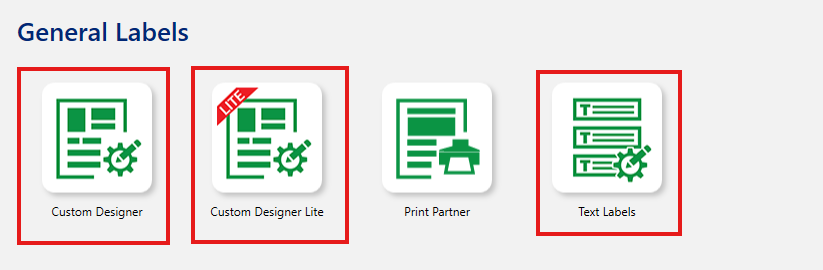
- Open Brady Workstation.
- Create a new label file in either Custom Designer, Custom Designer Lite, or Text Labels.
Note: This article uses Text Labels as an example, but all the steps are the same for the other applications.
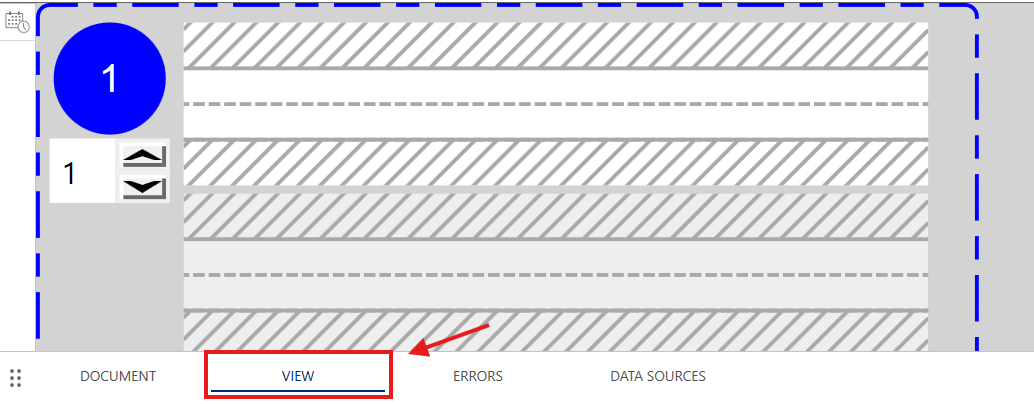
- Once you are in the label design screen, open the View tab.
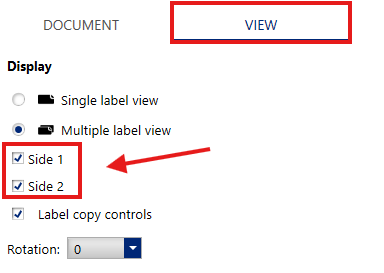
- Make sure both Side 1 and Side 2 are check marked.
Note: If you don't see these checkboxes, your roll of labels may not be compatible with double sided printing.
- Design a label.
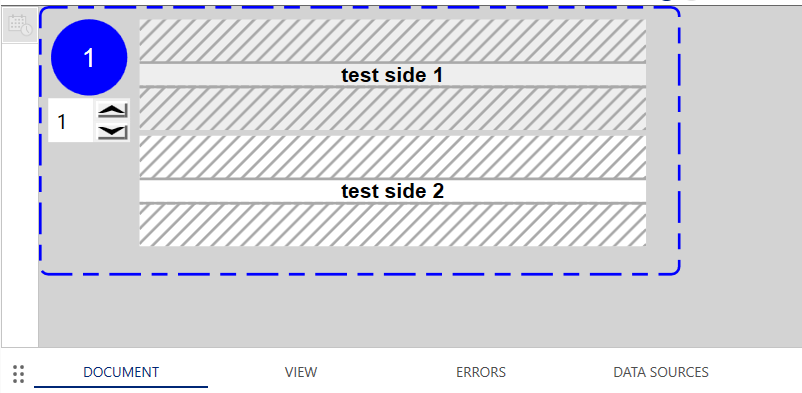
- Press Print.
- From the print preview menu, choose a Side to Print method from the drop down menu.
Note: This article uses Both Sides Standard as an example.
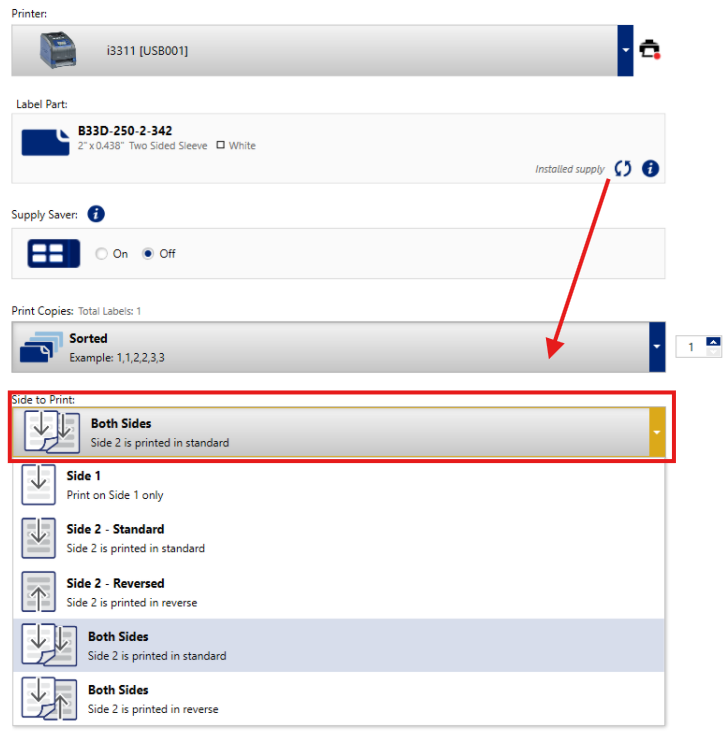
- Press print in Brady Workstation and cut side 1.
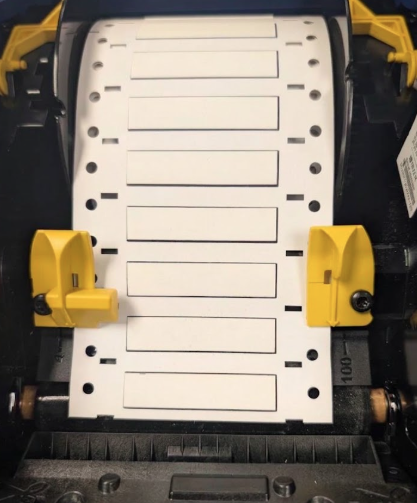
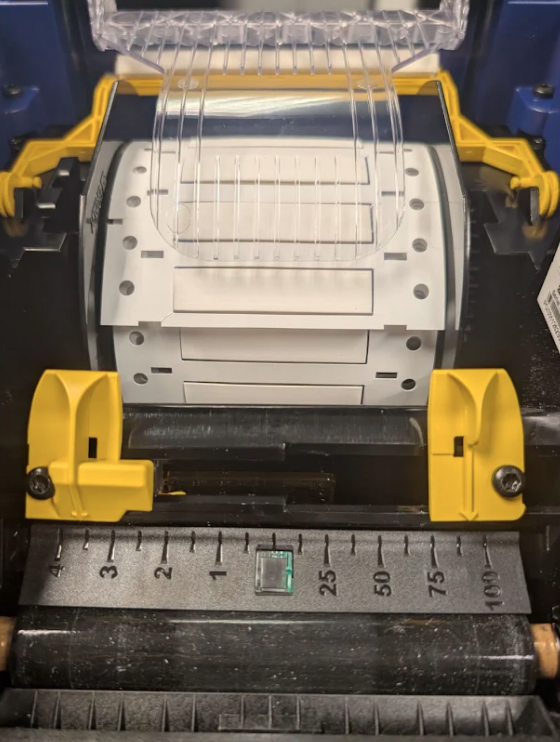
- Open the printer, and remove the labels still attached to the label roll from the yellow media guides as shown below. Do not remove the roll from the printer.
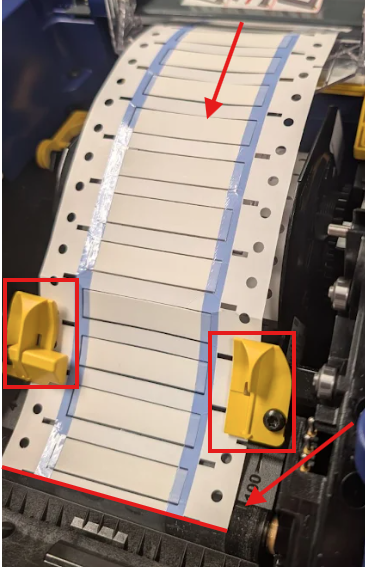
- Feed your printout through the back of the printer over the clear plastic bridge, and through the yellow media guides. The edge of the labels should be halfway across the platen roller.
Note: Side 2 should be facing upwards.
- Close the printer cover.
- Press Print Side 2 on the LCD screen of the printer.
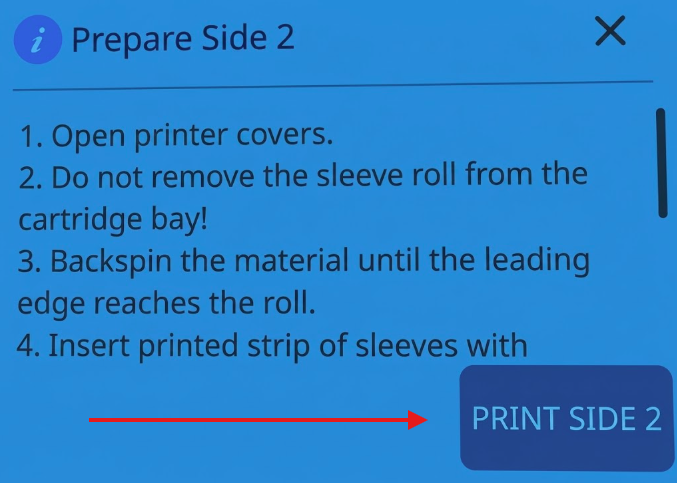
- Side 2 should now print.
Having trouble getting both sides to print? Contact Brady Technical Support for assistance.