| Body | Installing Label Roll
- Open the top cover of the printer.
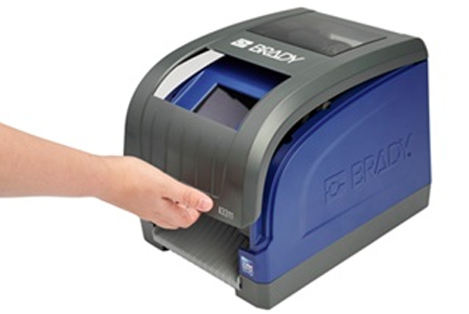
- Pull the yellow latch to pull the LCD screen towards you to reveal the ink ribbon compartment.
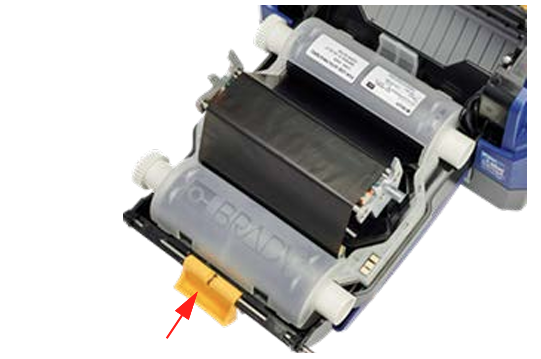
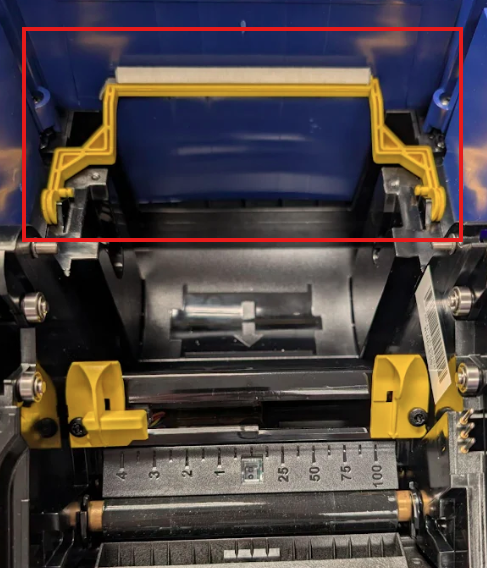
- Flip the yellow wiper bar to the back of the printer if it isn't already.
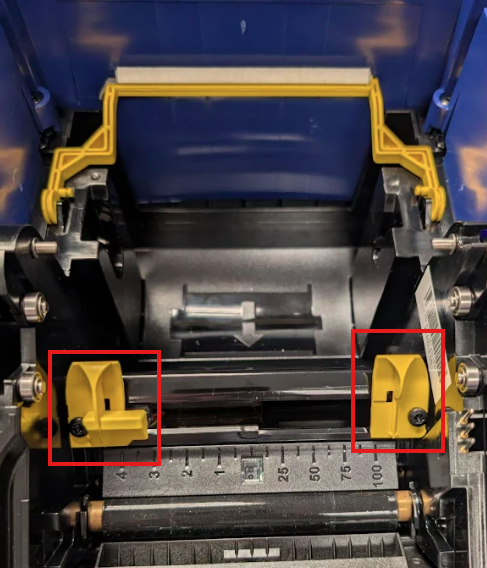
- Expand and slide the yellow media guides all the way to the edges of the printer.
- Insert the new label roll so that the smart-cell is on the left side of the printer.
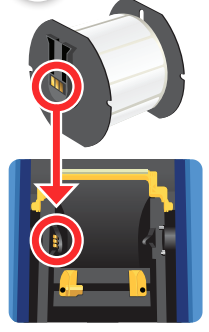
- Feed the labels from the top of the roll, underneath the yellow media guides until the leading edge of the media sits in the middle of the black platen roller.
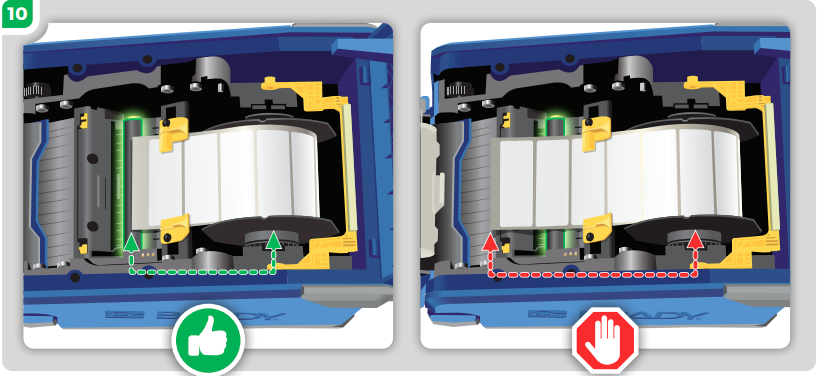
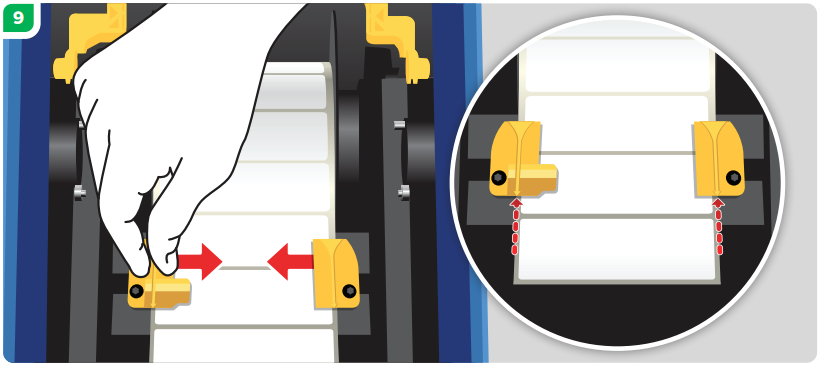
- Close the media guides until they touch the edge of liner and the labels are under the guides.
Note: The media guides should be snug against the media without bending the liner.
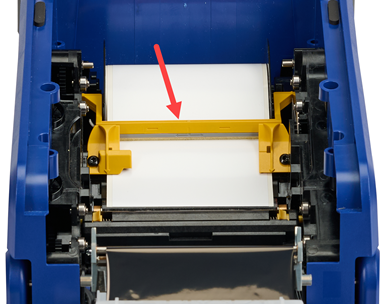
- Flip the yellow supply wiper arm only if you are using continuous style roll of labels. Do not use the supply wiper if using pre-cut labels.
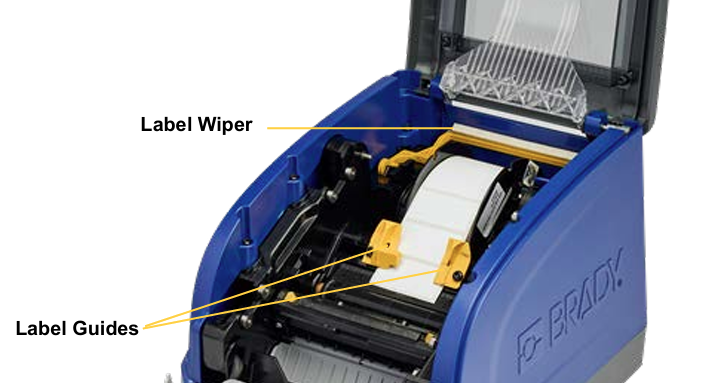
- Once the label roll is installed, install your ink ribbon following the directions below. If the ink ribbon is already installed, shut the ribbon compartment.
Note: You should hear the ribbon compartment click once it is latched into place.
- If the printer is in sleep mode, press the power button for the printer to detect the installed labels.
Install Ink Ribbon
-
Open the top cover of the printer.
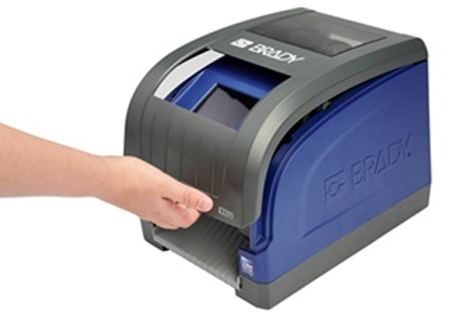
- Pull the yellow latch to pull the LCD screen down towards you.
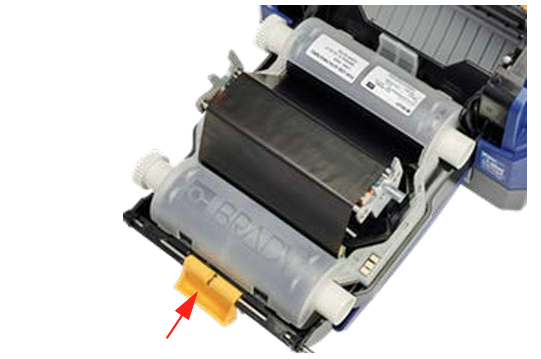
- If there is an old ink ribbon already installed in the printer, pull the clear plastic tab towards you to release the ribbon cartridge out of the printer.
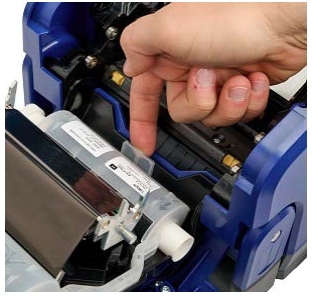
- Place the new ribbon cartridge with the ink ribbon covering the printhead, then snap into place (The white product label will face towards the interior of the printer, and the Brady logo will face out towards you as shown in the photo above).
- Firmly close the printer cover, you will hear a single click once the ribbon latches into place.
- If the printer is powered off or in sleep mode, turn on the printer.
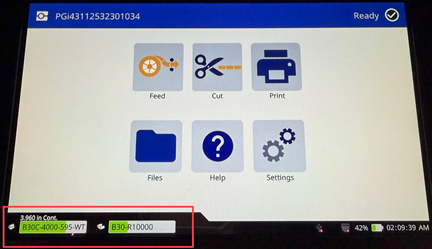
- A successful installation is indicated by two green bars on the bottom of the LCD screen that show the part number of the label and ribbon.
Related Information
|
|
|---|