- Open Brady Workstation.
- Click Arc Flash to open the app.
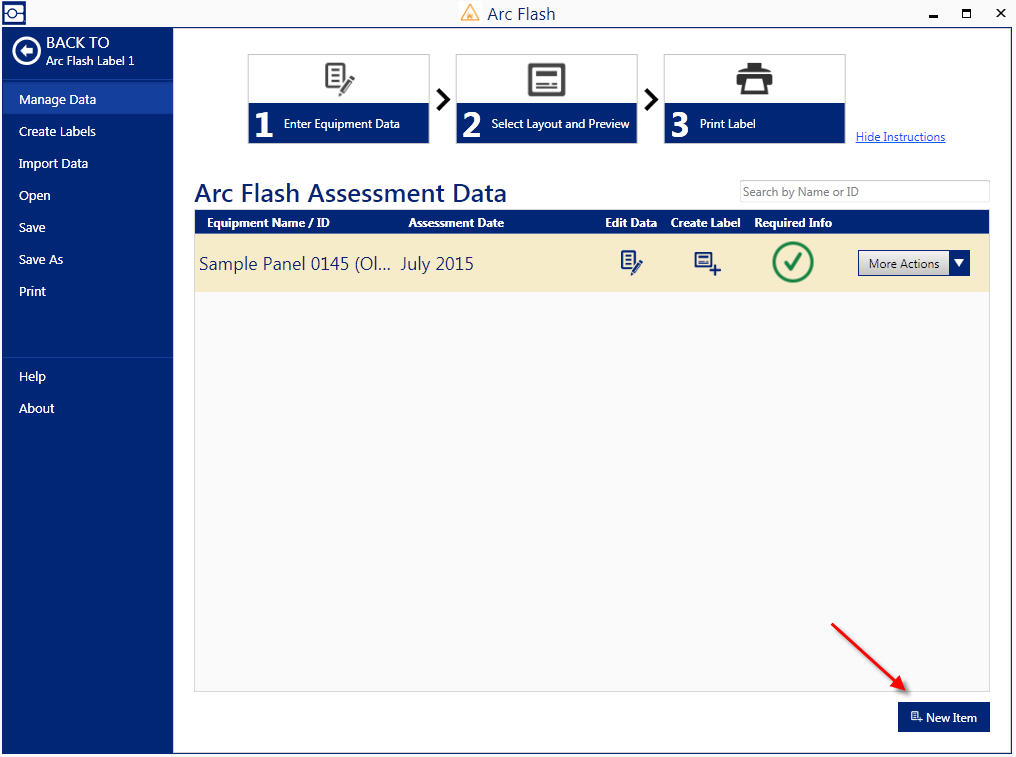
- Click New Item.
4. Enter Equipment ID or Bus Name and Assessment Date.
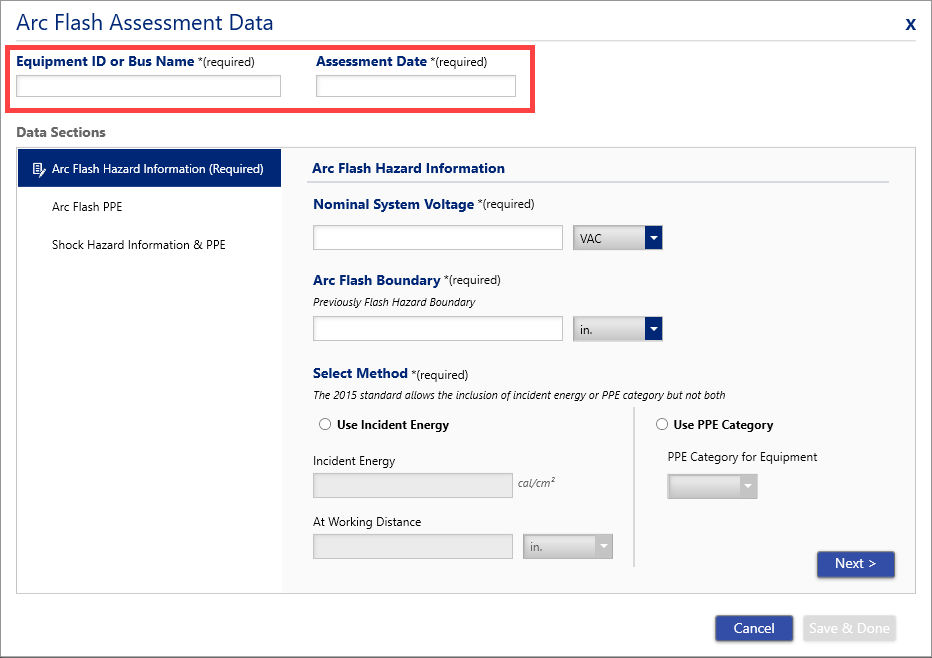
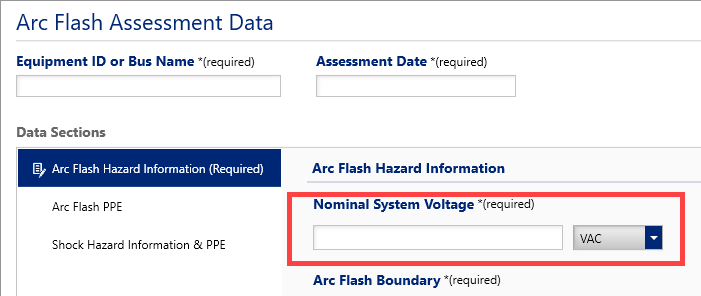
- Enter Nominal System Voltage and select VAC or VDC in drop down box.
- Enter Arc Flash Boundary and select unit of measure (i.e. - in, ft, mm, cm, or m).
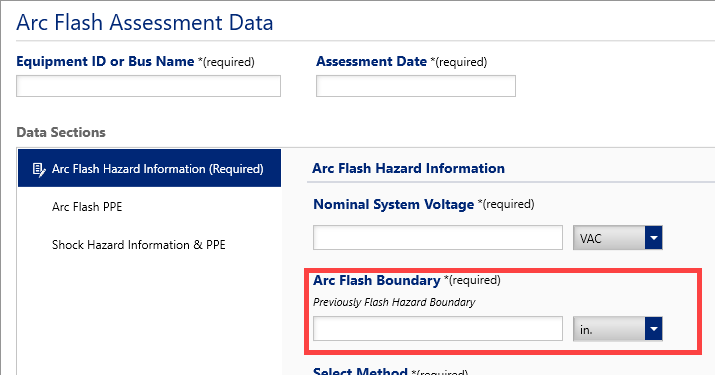
- Select the Method: Use Incident Energy or Use PPE Category. Only one option can be selected.
Enter the corresponding information depending on which option was selected.
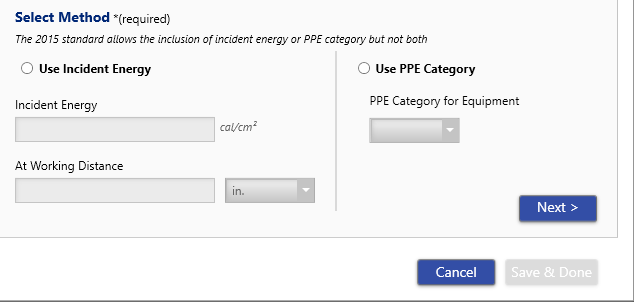
- Click Next or select the Arc Flash PPE tab.
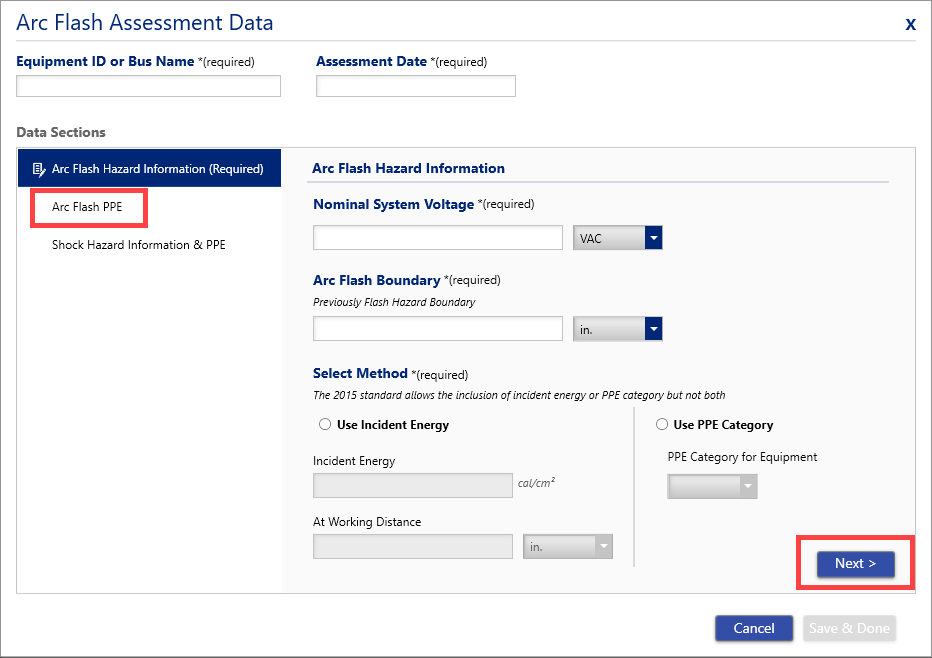
- Enter the Minimum Arc Flash Rating of Clothing or the Additional custom PPE Requirements, which are optional.

- Click Next or select the Shock Hazard Information & PPE tab.
- Enter the Shock Hazard Information & PPE information. These fields are not required.
- Enter the Shock Hazard, VAC or VDC and when.
- Enter the Limited Approach Boundary, unit of measure (in, ft, mm, cm, or m), and additional information.
- Enter the Restricted Approach Boundary, unit of measure (in, ft, mm, cm, or m) and additional information.
- Select the Glove Class, enter the V-Rating or additional information.
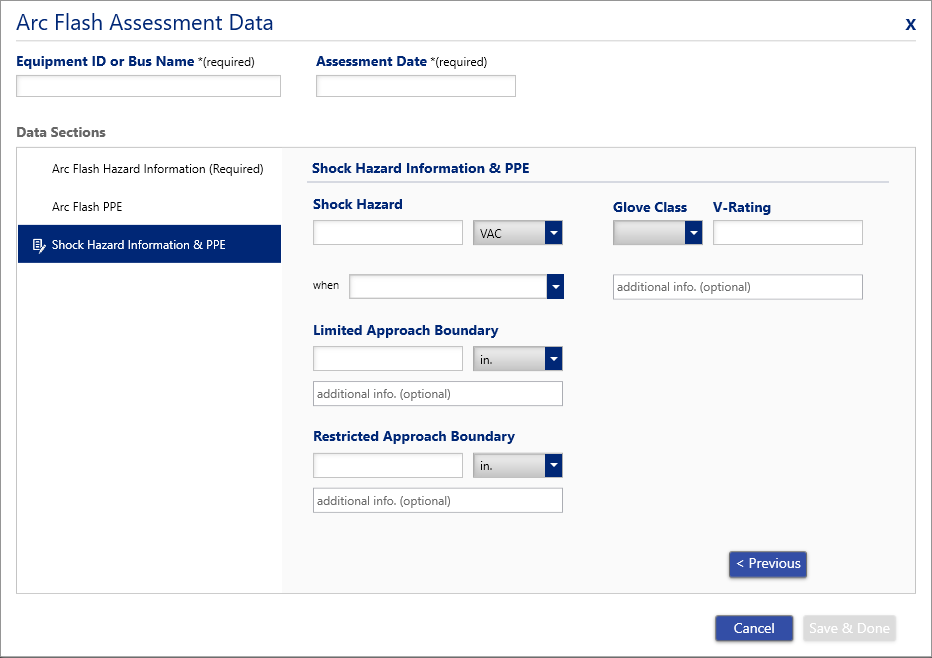
- Click Save & Done.
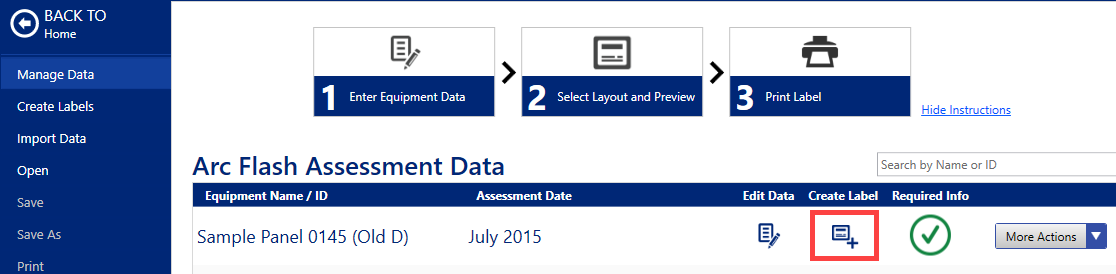
- Select the Create Label icon for the Equipment Name/ID.
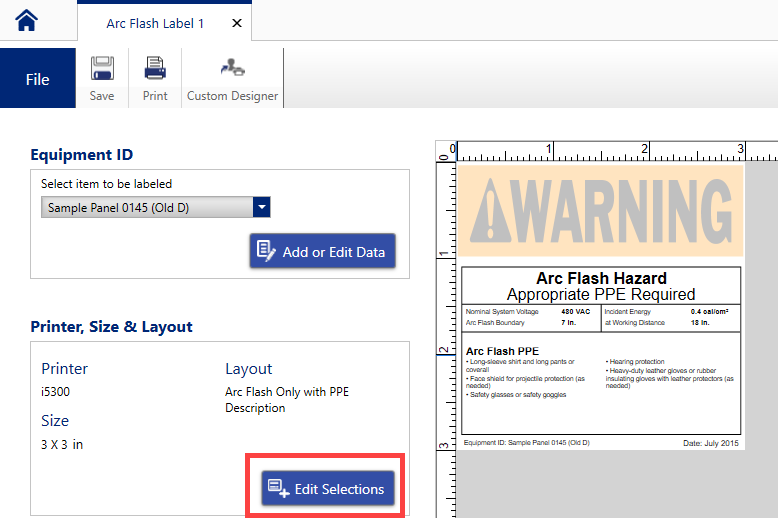
- Click Edit Selections to adjust the printer, layout or size.
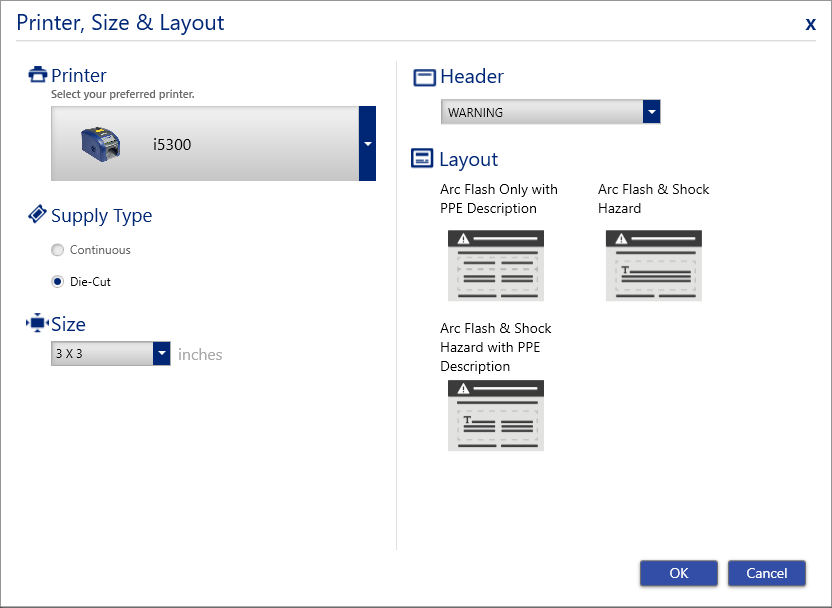
- Adjust the settings as needed. Click OK.
- Click Print.

- Adjust the Print Copies or Advanced Settings as needed.
- Click Print.